We are Authentically Urban, we plan on doing fashion, DIY, beauty and nail designs. If you have ay suggestions on posts we should do, please leave them in the comments.
-Hannah & Sydney

Friday, March 30, 2012

Abstract Tribal!!!

This design is great for any occasion and will spice up any outfit!!!
Supplies:
 -Any great color!!!(We used Essie Shop Till I Drop)
 -Black Striper(We used A black Stripe rite)
 -Base and top coat (We used OPI Start To Finish)
1.  Apply a base coat to protect your natural nails.
 2.  Paint your nails with the color you picked out (we obviously used orange.)


 3.Using the stiper, paint swirly designs on the nail.

 4.Next Paint dots and random stripes in the blank areas around the swirlys.
 5.Finish with a top coat and its ready for a fun night!!! (JK that's creepy :)
*Credits-
 -Artist: Hannah W.
 -Model: Hannah C.


Vintage Nails

These nails have a very vintage feel and look to them. They are great for any time of the year espically the spring because of the pastel colors and flowers.
Supplies:
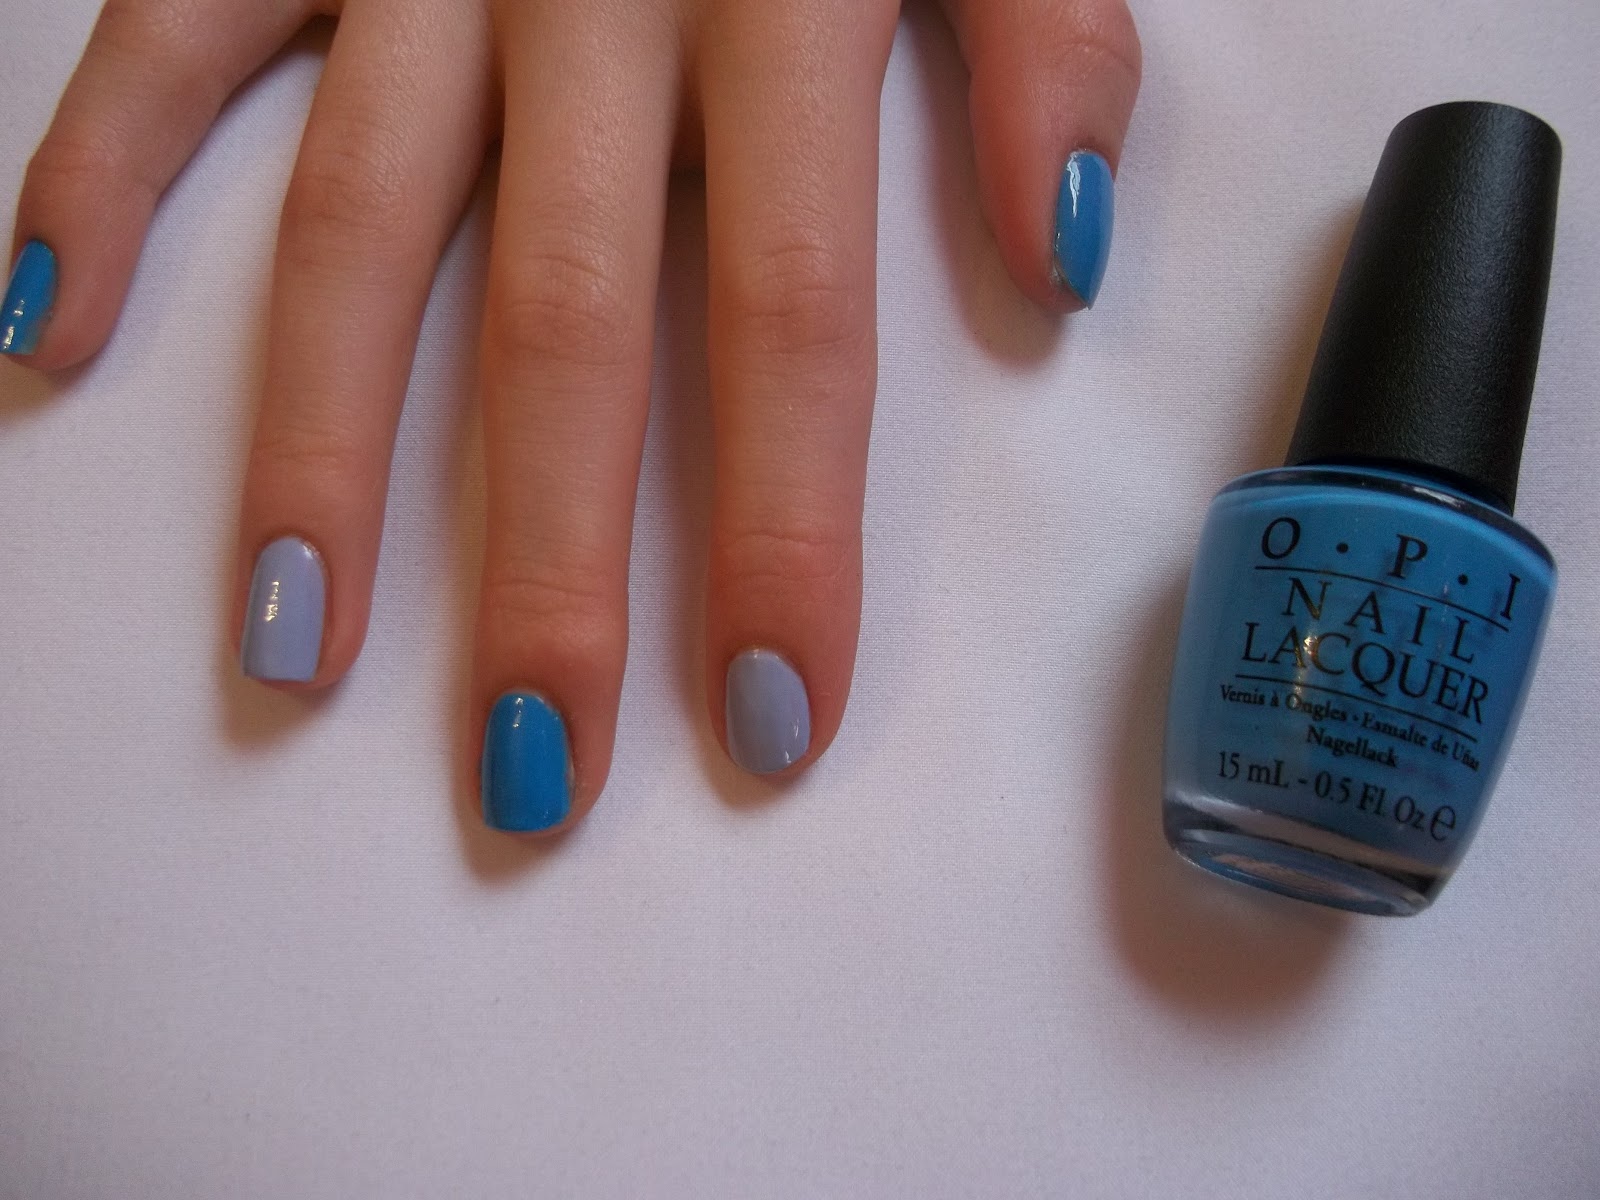
 -one dark color(we used opi no room for the blues)
 -a lighter shade of the same color(we used essie lilacism)
 -a white striper(we used a white stripe rite)
 -a light pink(we used essie shop till I drop)
 -a coral(we used essie cute as a button)
 -base and top coat(we used bridge the ridge filling base coat and opi start to finish top coat)

1. Apply a base coat and allow time to dry.
2.paint your nails alternating colors with the two blue shades you picked.
 3.On the lighter nails paint vertical white stripes.
 4.On the darker blue nails paint dots using the lighter coral color.
 5.Once the light pink dots have dried paint 3 little streaks on top of them, so it looks like the petals.
 6.  Once the petals have dried apply a top coat to give it a shine and extend the life of the color.

*Credits-
  -Artist:  Sydney W.
 -Nail model: Hannah C.


Tuesday, March 27, 2012

Rainbow Shatter!!!

This design looks a bit Easter-ish but is great for any time of the year!!!
  Supplies:
   -Three to six neon polishes (we used Did it on 'em by OPI, Essie Play Date, A neon pink stripe right and      China Glaze Turned Up Turquoise)
   -A black shatter/crackle (we used OPI Black Shatter)
   -A base and top coat (we used OPI start to finish)
1.  Apply thin blobs or streaks of your colors randomly on nails after applying base coat.
2.  After completed with all colors provide time to dry.
(As you can see above the design looks better if your streaks are messy and random)
3.  Apply your black shatter.
4.  After the black shatter is dry go over with top coat. And it's ready to wear!!!
  *Tip: Shatter works best if you use a thin layer.  Also the messier the streaks the better it looks.
Credits-
 -Artists: Sydney W. and Hannah W.
 -Model: Hannah W.

Our first design!!! :-)


Yay our first post!!! 
Supplies you will need:
 -Your favorite nail polish (we used Essie Play Date)
 -A contrasting color (we used OPI Black Onyx)
 -Scotch tape
 -Scissors
 -Base Coat (we used Bridge the Ridge filling base coat)
 -Top coat (we used Start to Finish base and top coat By OPI)
1.  Apply a base coat to protect your natural nails from staining.
2.  Paint your nails with you favorite polish.
3.  Allow your polish to fully dry.
4.  Cut V-shapes into the tape (shown in picture above)
5.  Apply tape to nail.
6.  Paint over the un-taped nail with contrasting color.

7.  Allow time to dry then apply top coat. And your finished!!!
    Please leave suggestions for future designs in the comments below :)

*Credits-
   -Artist: Sydney
   -Model: Hannah W.