We are Authentically Urban, we plan on doing fashion, DIY, beauty and nail designs. If you have ay suggestions on posts we should do, please leave them in the comments.
-Hannah & Sydney

Saturday, September 15, 2012

gold plastic bag method.

Ok so Finally I promised you a design today and you're going to get one!  :)  There are really only two things polish-wise that I REALLY can't wait for this fall.  One is of course Halloween so I can do some Halloween designs, and the other is definitely OPI's Skyfall collection coming this fall!!!

 So today's design is inspired by the star of the collection... "Man With the Golden Gun" Which is a gorgeous 18 karat gold leaf top coat.  Today's manicure is inspired by the swatch show below:
 

Here is my attempt at a similar effect however I forgot my purple is way darker then it looks in the bottle, and especially darker in a picture.


Supplies:
-A dark purple, a color even lighter than the one I used would be best because for the most part mine looks black. (I used OPI's "Siberian Nights")
-A gold (I used OPI's "Symphony in Gold")
-A base and top coat.
-And a some cling wrap (Amount doesn't really matter I used the full width of it but just a few inches long.

1. Apply a base coat and allow to dry.

2. Paint all of your nails the purple color.  Before moving on be sure that this is completely dry.
3. Roll up your cling wrap.  Be sure that it's "even" on top so you don't only get one line of gold.  (If anyone has suggestions on better wording please comment and I'd be glad to change It I just don't really know how to word it.)
4. With a polish brush that isn't to heavy with the gold polish paint on the top of the cling wrap.
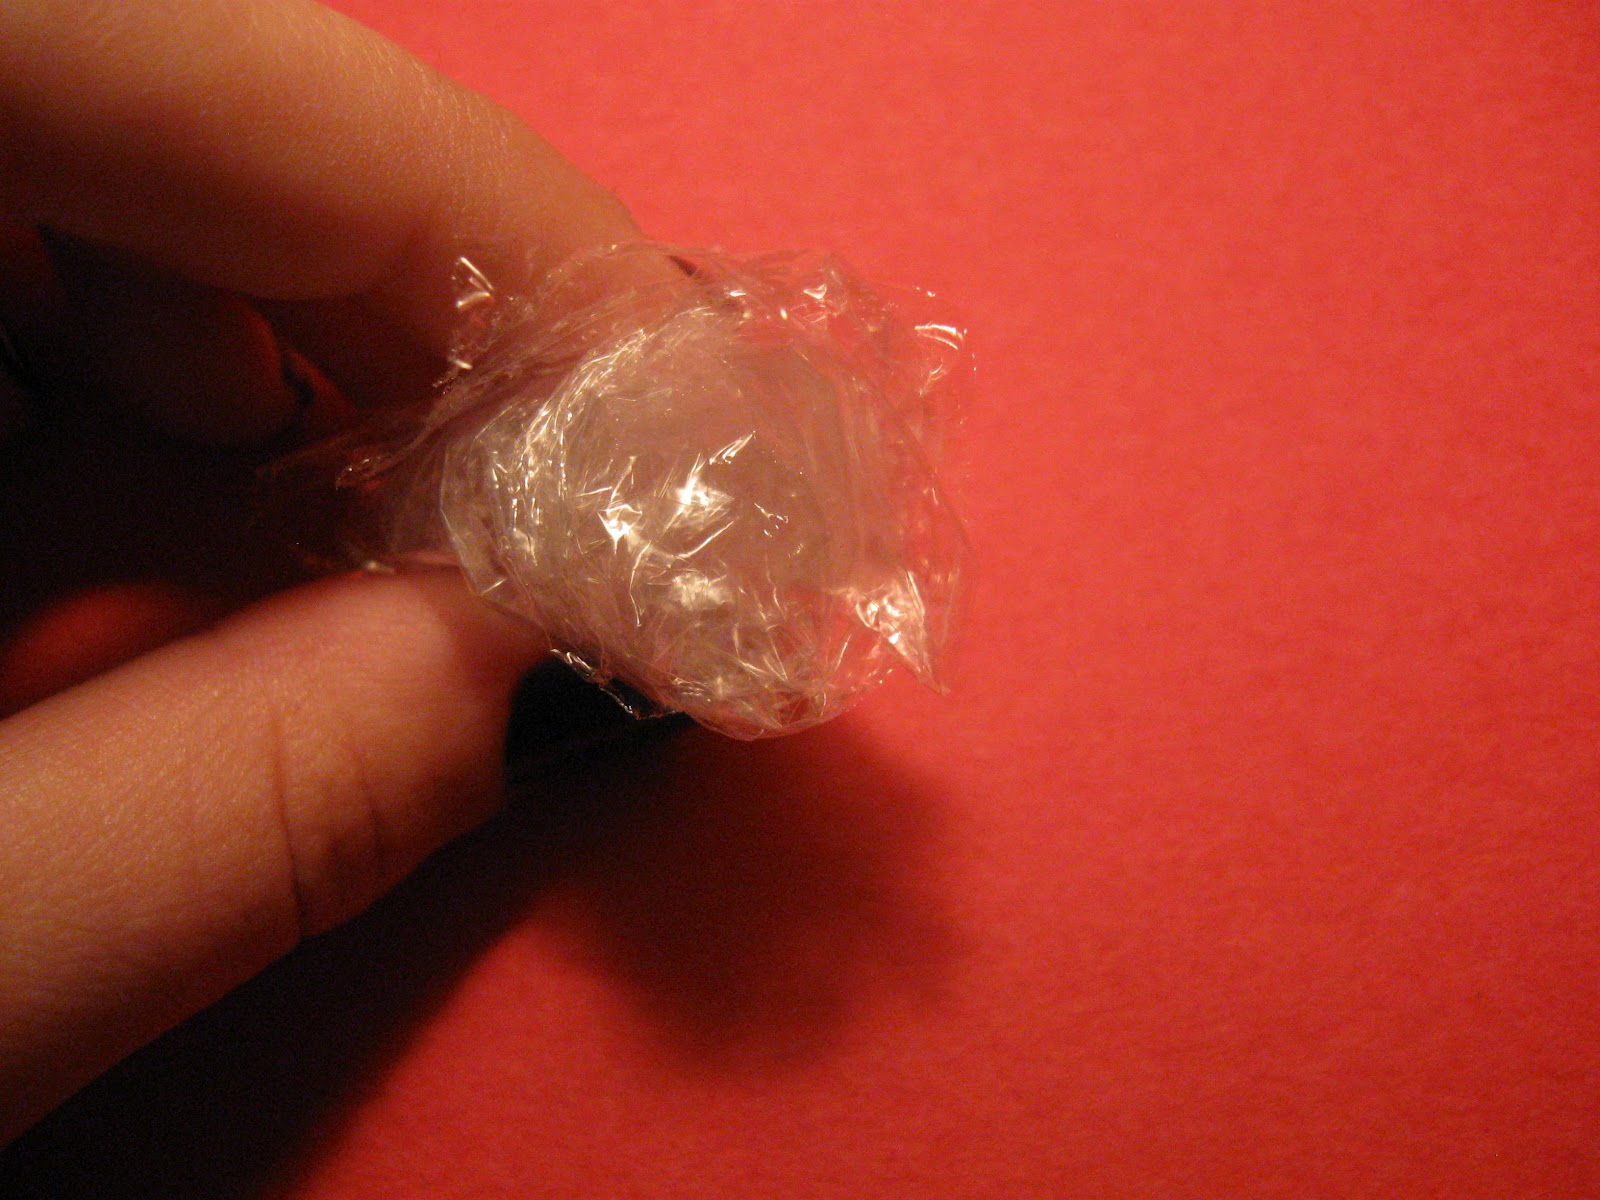
5. While the gold is still wet dab the cling wrap on your nails but be sure to test it on paper first so you don't just cover up all of your base color.  Also be gentle so that again you don't cover your base color completely.
6.  Finish with a top coat to seal in the color.

Don't forget to subscribe by email in the toolbar on the right!               

                                                                                         -Hannah <3
*Credits*
Artist:Hannah
Model:Hannah

Nail Polish :)

Today I have a poem for you written by a friend of the blog, Taylor Wilhoit.  :)  Oh and P.S.  I'm planning on posting a design later today!!!  :)

Nail Polish

By: Taylor Wilhoit

I eat cherries and as I chew,
I paint my nails neon blue.
Or red, or pink, or green, too.
I never paint my nails with glue
That's just ew.
When I was home with the flu
I painted my nails midnight blue,
Or like the zebra from the zoo.
Whenever I make stew,
Or wash my hair with shampoo,
I see my nails and shout woo-hoo!
Want to know my favorite color, you?
It's purple.

Oh and P.S.  I'm planning on posting a design later today!!!  :)

                                                                              -Hannah <3  

Friday, August 17, 2012

Nautical nails!!!

Finally a post together!!! This design is inspired by this design:
 
Supplies:
-base and top coat (OPI start to finish)
-white polish (OPI "Alpine Snow")
-teal or navy (OPI "Ski Teal We Drop")
-gold polish (OPI "Symphony In Gold")
-red striper (Striperite)
-white striper (Striperite)
-toothpick
-reinforcement rings
-tape

1. Apply base coat and allow to dry.
2.Paint all of your nails white except paint your ring finger navy.
3.  On the all of the white nails except the thumb apply a navy french tip.
4. On the ring finger we will do an anchor.  To start make a cross in the middle of the finger using the white striper.
5.  Make the hooks on the anchor and the ring using a toothpick.
6.  On the thumb tape off half of the nail diagonally. 
7. Paint the uncovered half of the thumb navy.
8.  On the thumb apply red stripes an a gold line.
9.  Back on the white fingers paint two red stripes and gold dots on each side.
Apply top coat and your ready for the high seas!!!  :)

Don't forget to subscribe by email on the right-hand side in toolbar!!!  :)

                                                           -Hannah and Sydney

*Credits*
Artist: Sydney
Model: Hannah W.


Wednesday, August 15, 2012

A twist on french tips ;)

I apologize for the delay in a new post but finally we got a request on how to do the half moon manicure.  I decided to make a post more fulfilling, and show you all the types of french manicures that I've seen.  I'm sure there are more but this should cover the basics.
                                    -Hannah <3
1: A twist on the traditional french.
First is probably the most traditional but still a bit different.  This style french tip doesn't really need much explaining.  You use the same technique but instead of a nude or clear base you use a color of your choice. (Note: Base color should be thinner than your tip color so that the tip shows.)  Next you just add the french tip like normal.


 2:A pointed half moon (this is the most accurate description I can think of...)
 a.  First outline your point as shown above you can adjust the size an angle of the sides to the triangle.
b. Fill in the above portion of the nail.  Try to make the coat as even as possible since the section where you outlined may be slightly thicker.

3:Half moon mani
a.  To make making the circle easier you will want some reinforcement rings.  You can get these at most any office supply stores.
b. Once your base color has dried cut a slit in one of the reinforcement rings so that it can form to the shape of your finger.  Press the ring as shown above but as in the pointed version you can adjust the size to your liking.

c.  Paint you darker color and after a few seconds (About 3-5) Remove the sticker.

Thanks for reading!!!  Don't forget to subscribe by email on the right hand side in the tool bar!!!  :)

Credits:
*Model/Artist: Hannah W.